How to Install Shiplap on Interior Walls
Here’s UFP-Edge’s step-by-step guide for installing UFP-Edge Timeless Nickel Gap shiplap

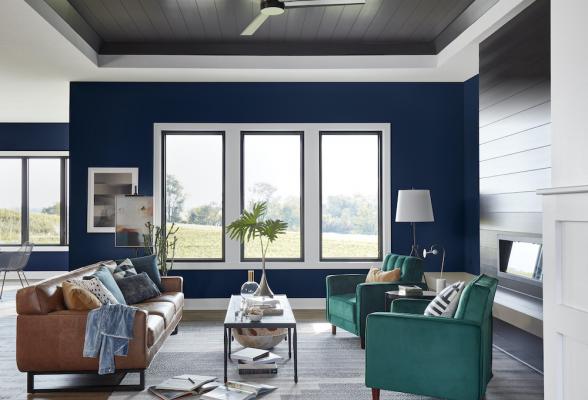
Shiplap offers an easy way to give interior walls an instant upgrade and a classic look. Not only can it be a relatively small investment, it’s straightforward to install.
Here’s UFP-Edge’s step-by-step guide for installing UFP-Edge Timeless Nickel Gap shiplap, which is featured in this year’s Model Remodel:
- Determine the amount of materials needed by calculating the square footage of the installation area.
- To avoid issues with the finished product, allow the wood to acclimate to the temperature and moisture level by leaving the materials in the room for several days prior to installation.
- Prep the walls by wiping with mild soap and water and a smooth cloth.
- Mark the studs.
- Install panels from the bottom of the wall upward. Apply construction adhesive in a zig-zag pattern on the back of the board and apply to the wall with the flange up. Install 2-inch trim nails through the flange into each stud. Boards must meet at a stud and should be cut to length if needed.
- Stagger the seams as you work your way up.
- Cut the top row lengthwise to fit, measuring in several places as the ceiling may not be level.
Installing the shiplap vertically? Install full-length furring strips every 24 inches, then install panels using the same methods, working from one side to the other.
Most likely, you’ll encounter outlets and switches as you install UFP-Edge Timeless. Check out this video for application instructions:
Follow along with the 2020 Model Remodel.